
How to Winter Jug Seed Sow
I decided to give Winter Jug Seed Sowing a try this year, and I have to say I’m beyond impressed with the results! Not only did it free up valuable space in the greenhouse, but it also gave me a head start on the growing season. The best part? The seedlings will be ready to plant as soon as the soil warms up and the last frost has passed.
These jugs act like mini greenhouses, making it an easy, low-maintenance way to start seeds. You can begin your winter sowing anytime during the colder months, and then simply let nature do the work until planting time. I’m already looking forward to doing this again next year!
What You Need to Sow Seeds in Jugs
Winter Jug Sowing is an easy, low-maintenance way to start seeds outdoors during the colder months. Using recycled plastic jugs as mini greenhouses, you can get a head start on your garden without needing indoor grow lights or a greenhouse. Here’s a step-by-step guide to help you get started!
- • Plastic jugs (milk jugs, water jugs, or juice containers)
- • Potting soil or seed-starting mix (light and well-draining)
- • Seeds (cold-hardy varieties are best)
- • Duct tape or packing tape
- • Permanent marker
- • Sharp scissors or utility knife
- • Spray bottle or watering can
Download Your Seed List Printable
Let’s Begin!
Step 1: Choose Your Jugs
Select translucent plastic jugs that can act as mini greenhouses. Milk jugs and water jugs work best, but you can also use juice containers or clear plastic food containers with lids.
Make sure the jugs are clean and free of labels.
Step 2: Cut the Jugs
Poke drainage holes in the bottom of the jug to allow excess water to drain out.
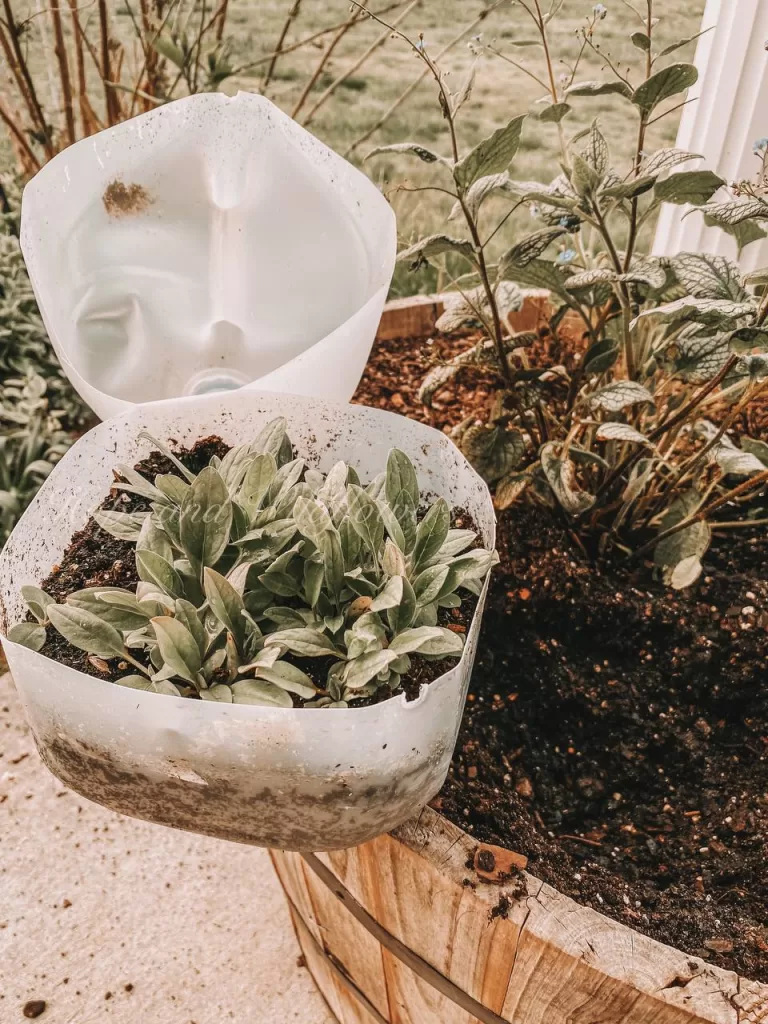
Using scissors or a utility knife, cut the jug around the middle, leaving a small section near the handle attached (this acts as a hinge).
Next, add another hole about 4″ from the bottom. This hole will cut the jug open to make a hinge.
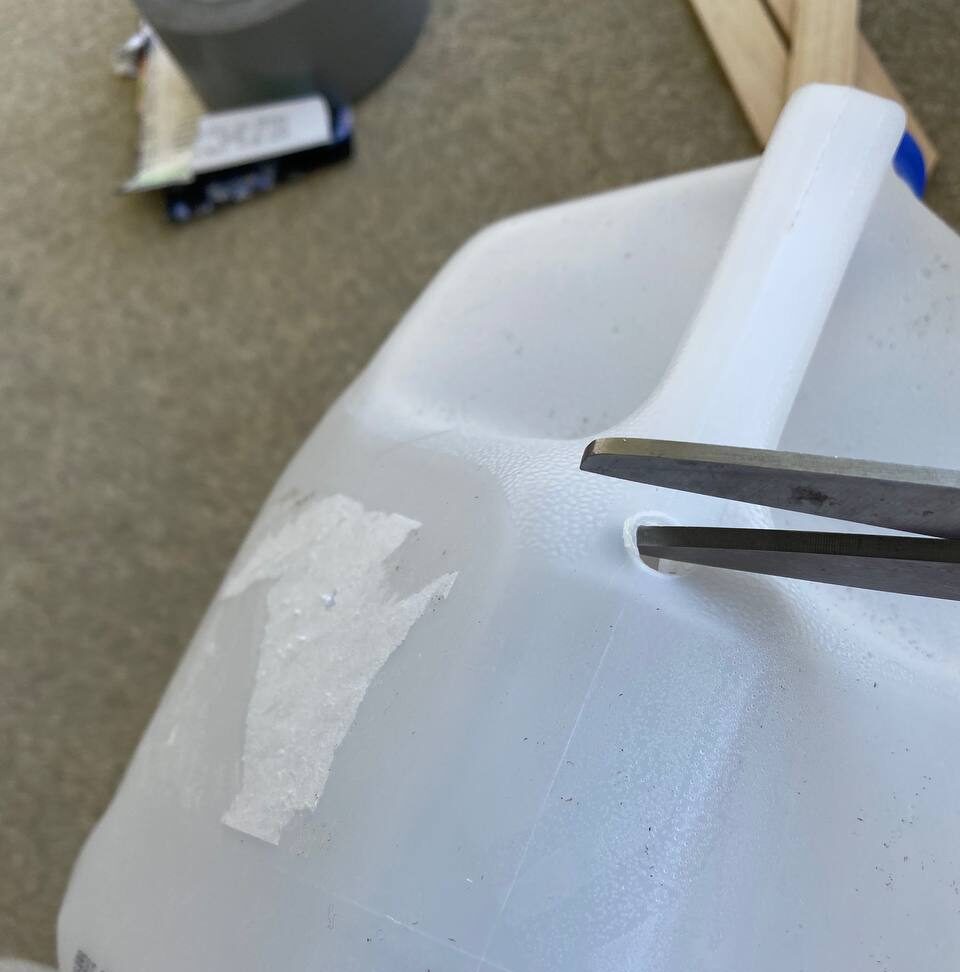

Cut all away around the jug, except for about an inch in the back. Leave this inch intact to make a hinge to lift open the jug.
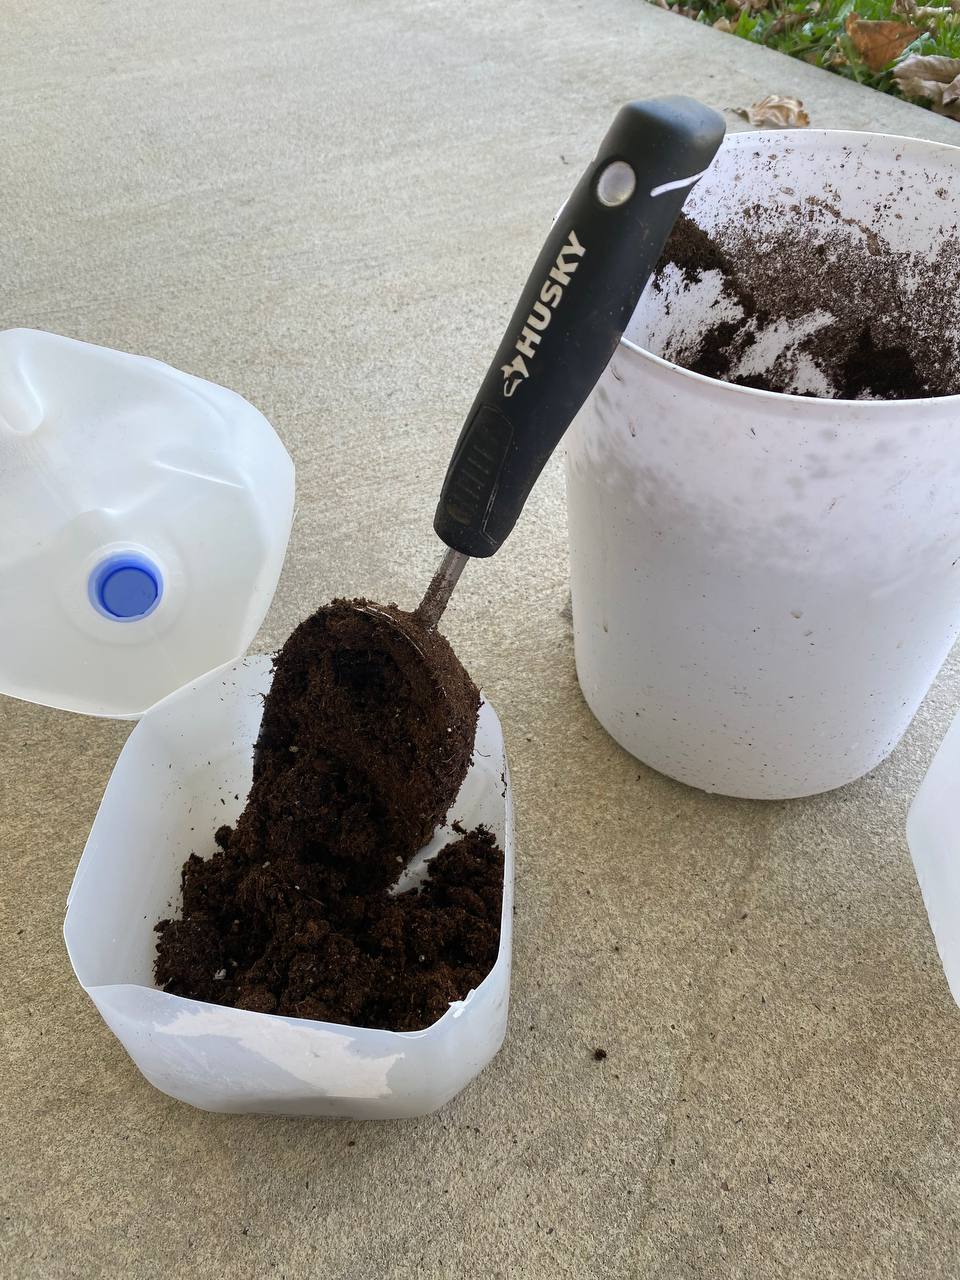
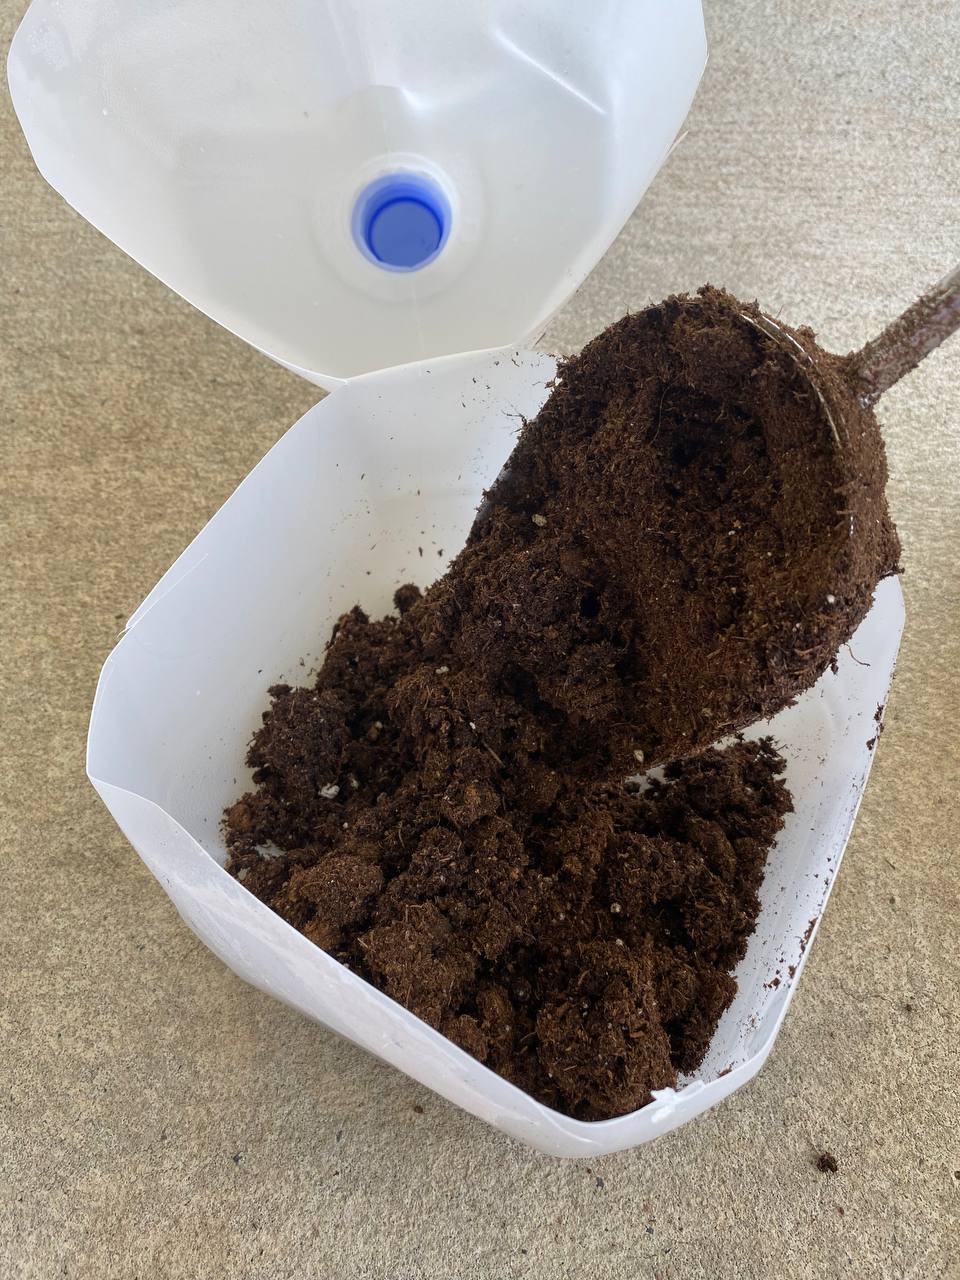
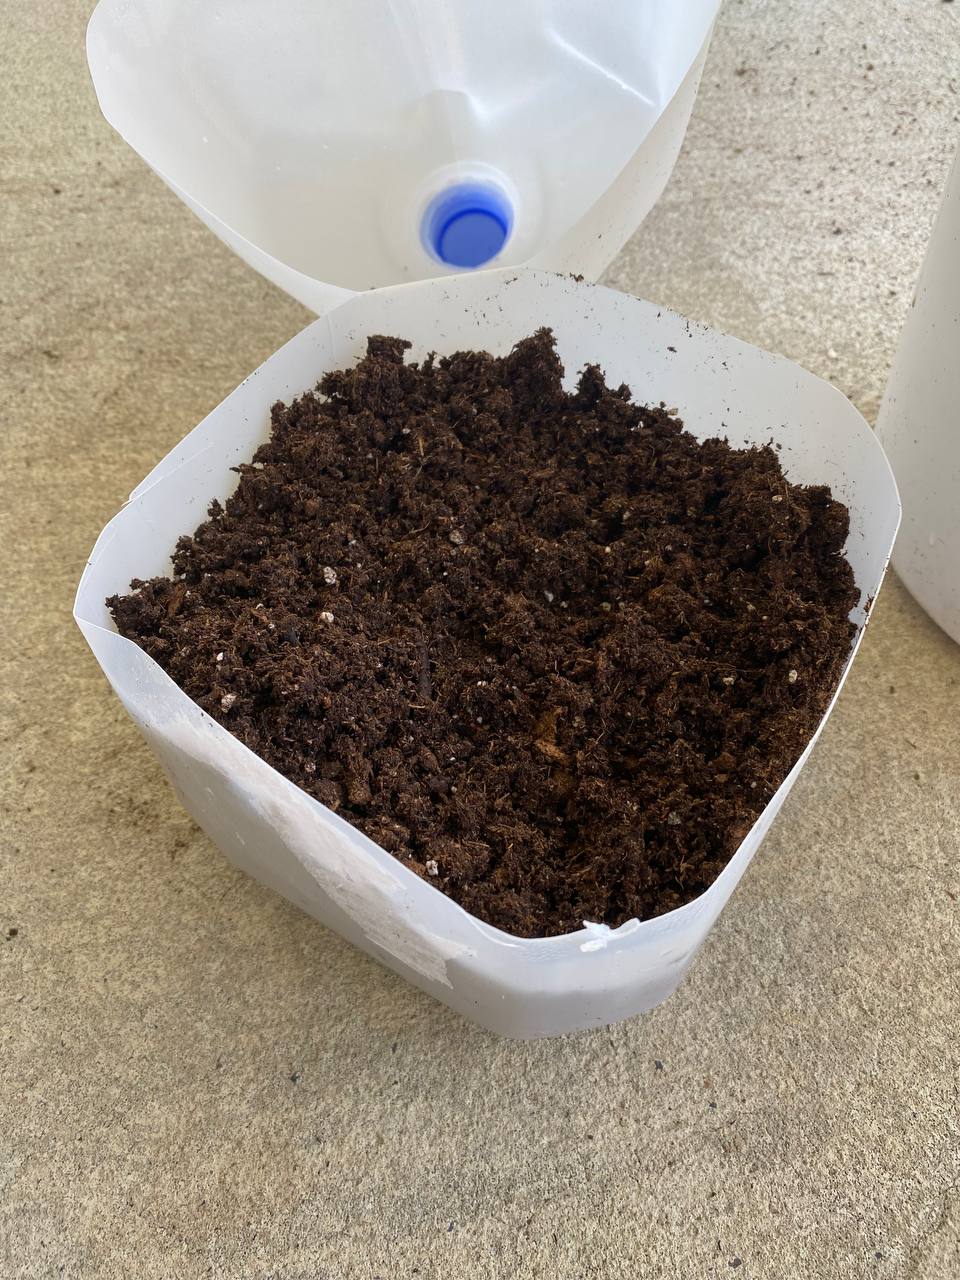
Step 3: Fill with Soil
• Add about 2-3 inches of seed-starting mix or potting soil to the bottom of the jug.
• Moisten the soil with a spray bottle or watering can until it’s damp but not soggy.
Step 4: Sow Your Seeds
• Follow the seed packet instructions for how deep to plant your seeds.
• Sprinkle the seeds onto the soil, lightly covering them with more soil if needed.
Tip: Start with cold-hardy seeds like poppies, larkspur, snapdragons, kale, spinach, or lettuce.
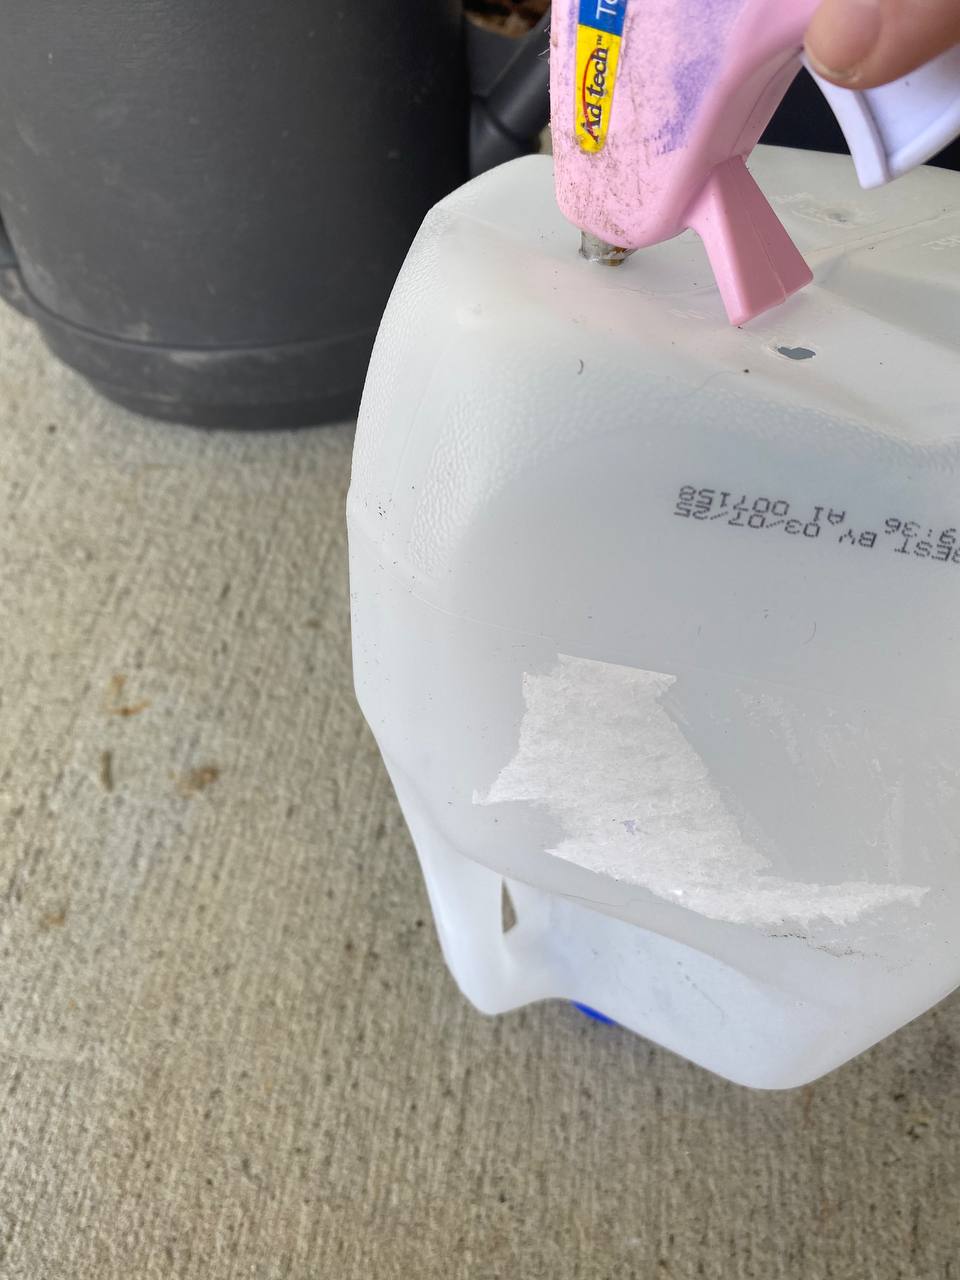
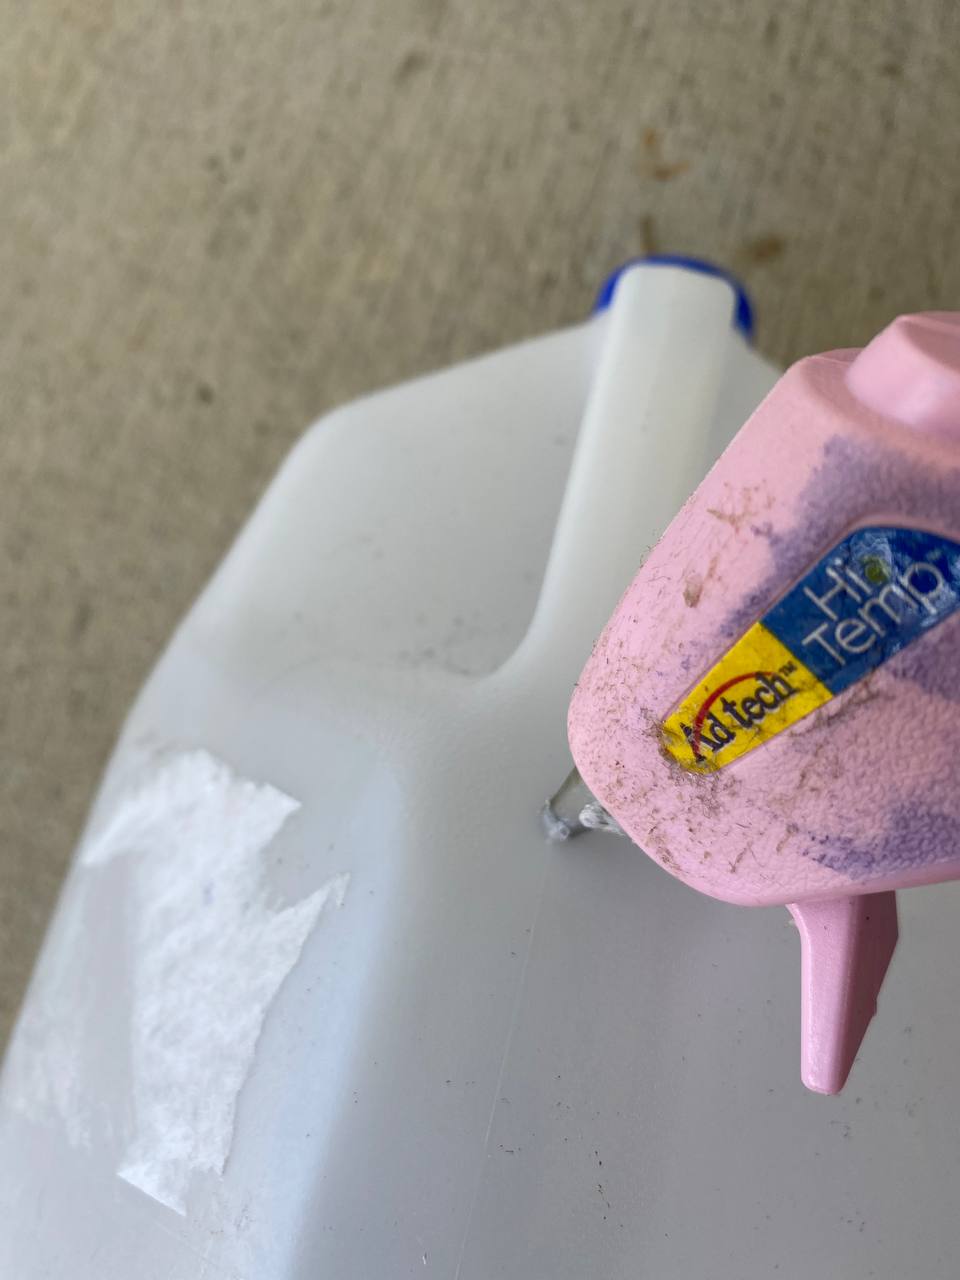
Step 5: Seal the Jug
• Close the jug and secure it with duct tape or packing tape around the cut.
• Leave the lid off the jug to allow air circulation and prevent overheating.
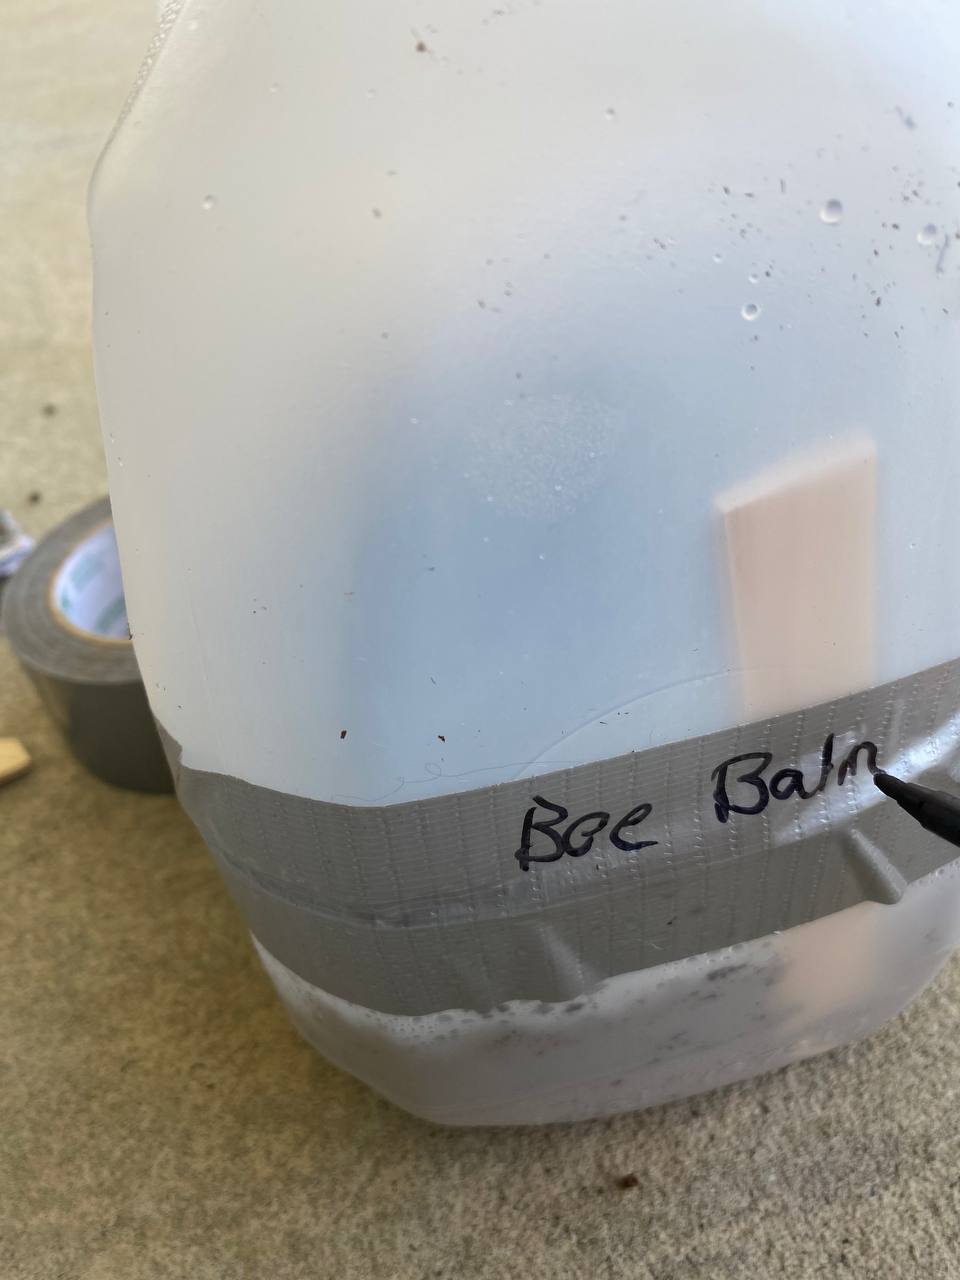
Step 6: Label Your Jugs
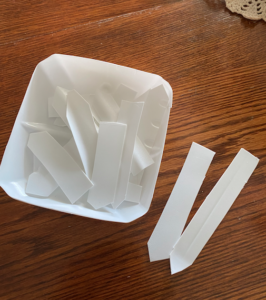
• Use a permanent marker to label the outside of the jug with the type of seed and the date you planted them.
• You can also add a tag inside the jug for extra security.
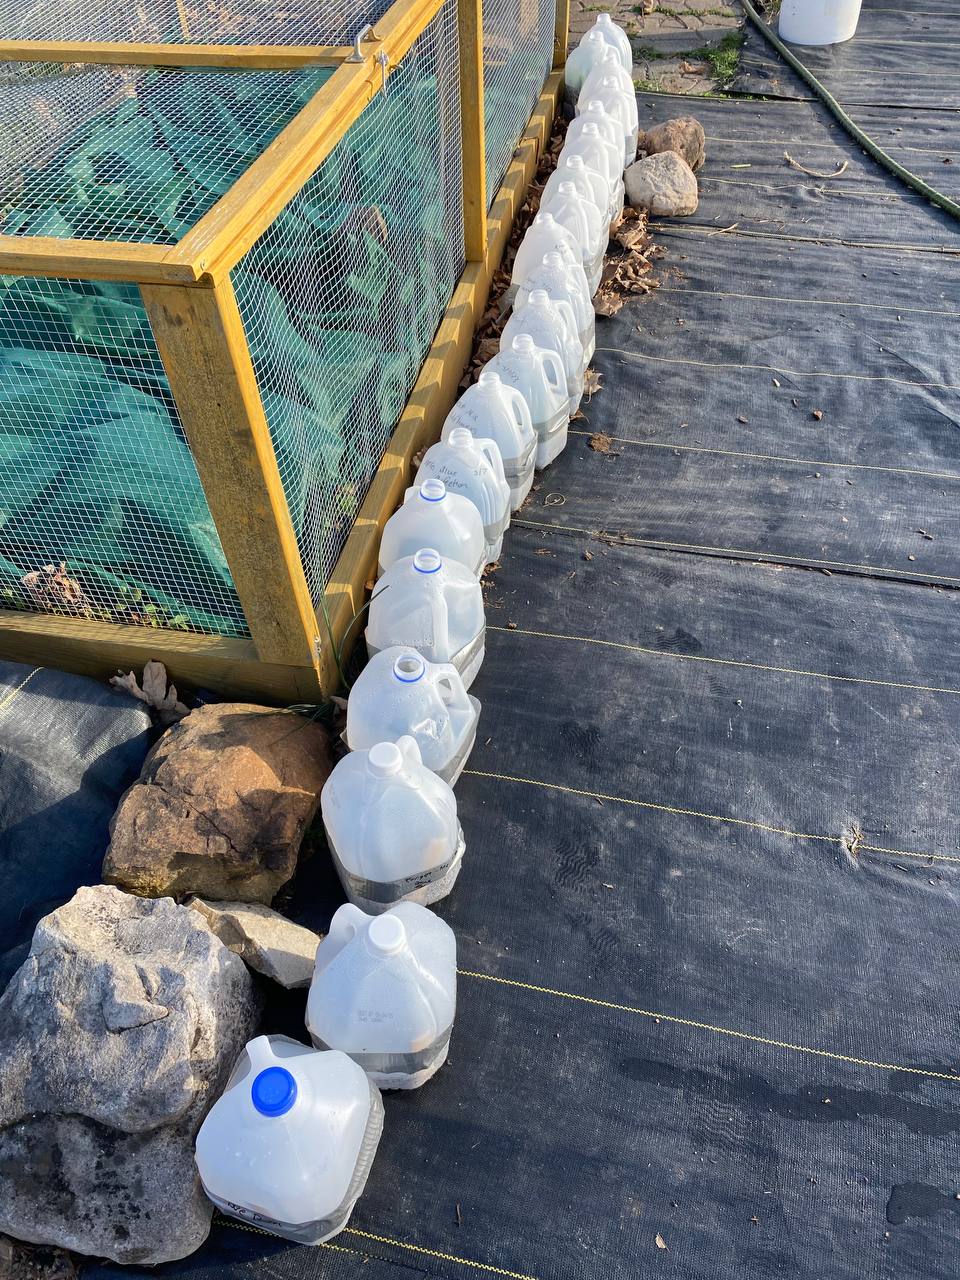
Step 7: Place Jugs Outside
• Put your jugs outside in a sunny spot where they’ll be exposed to rain, snow, and natural light.
• No need to bring them inside — the seeds will remain dormant until conditions are right for germination.
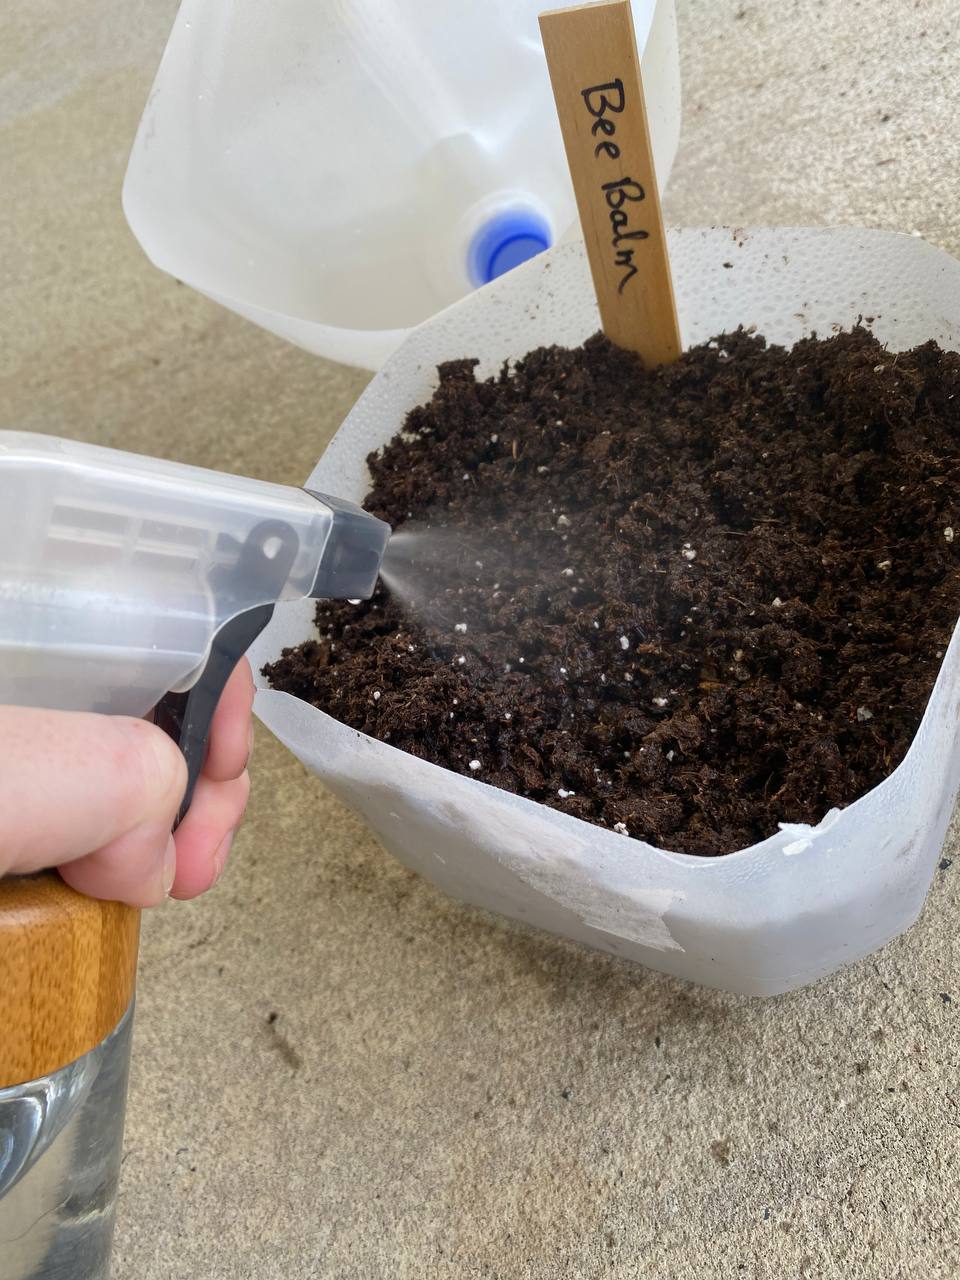
After planting seeds, mist the soil so the top 1″ is damp. This is also an excellent time to place a label inside to have ready for when you transplant them. If you don’t have labels, you can use a jug for this, also!


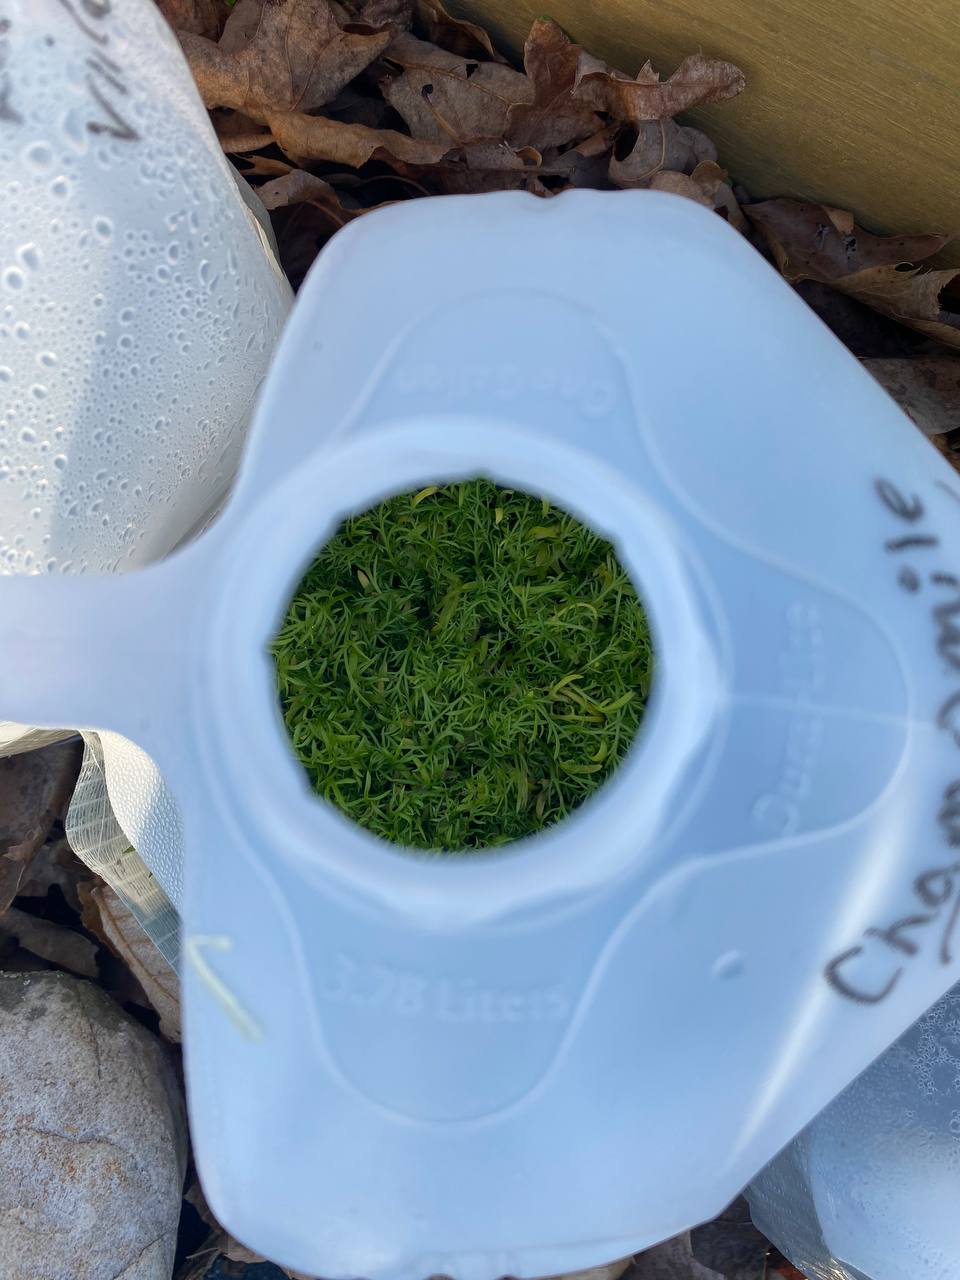
Step 8: Let Nature Do the Work
• Check your jugs periodically to ensure the soil stays moist but not waterlogged.
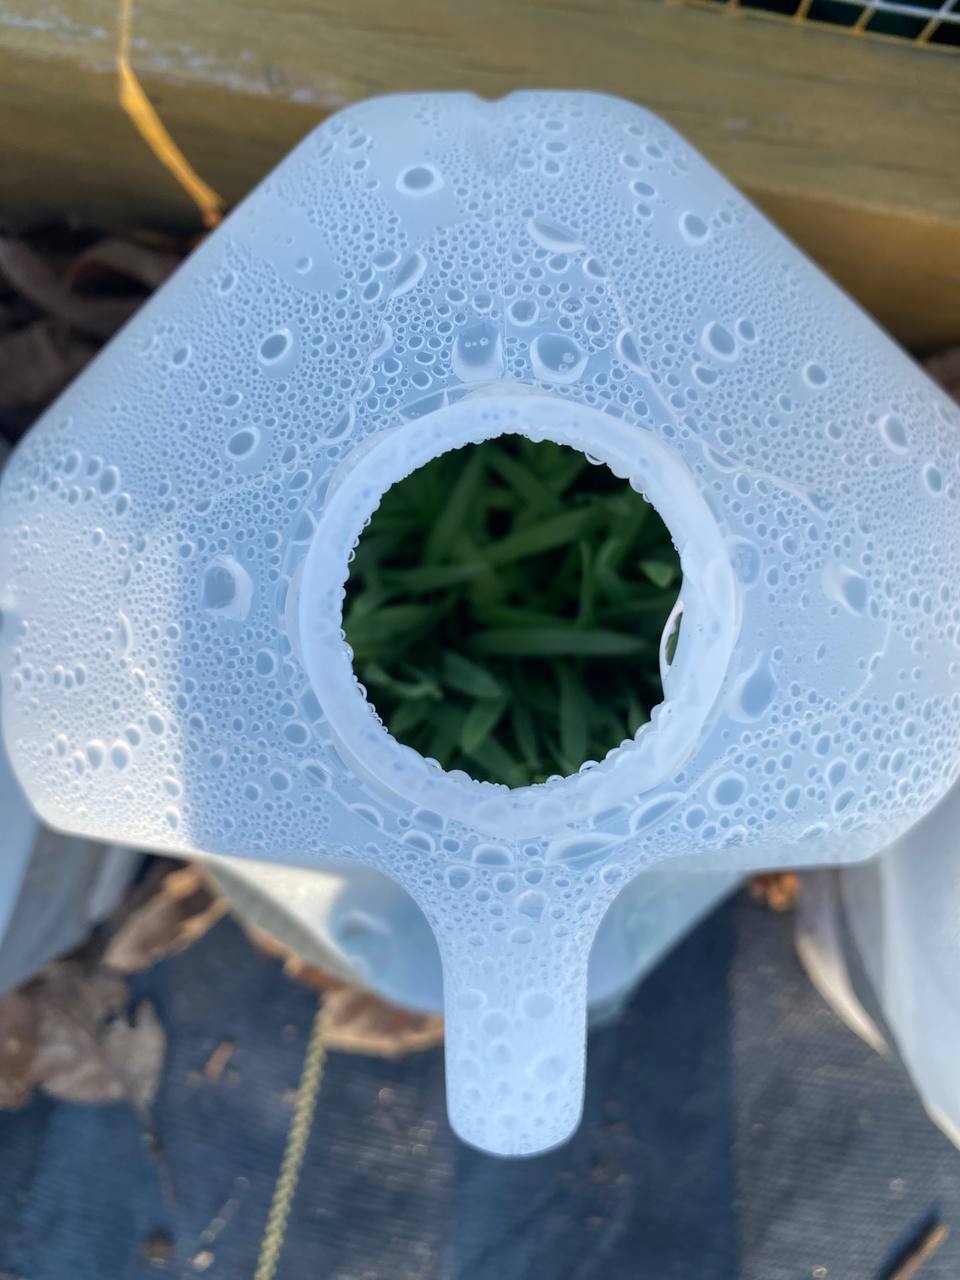
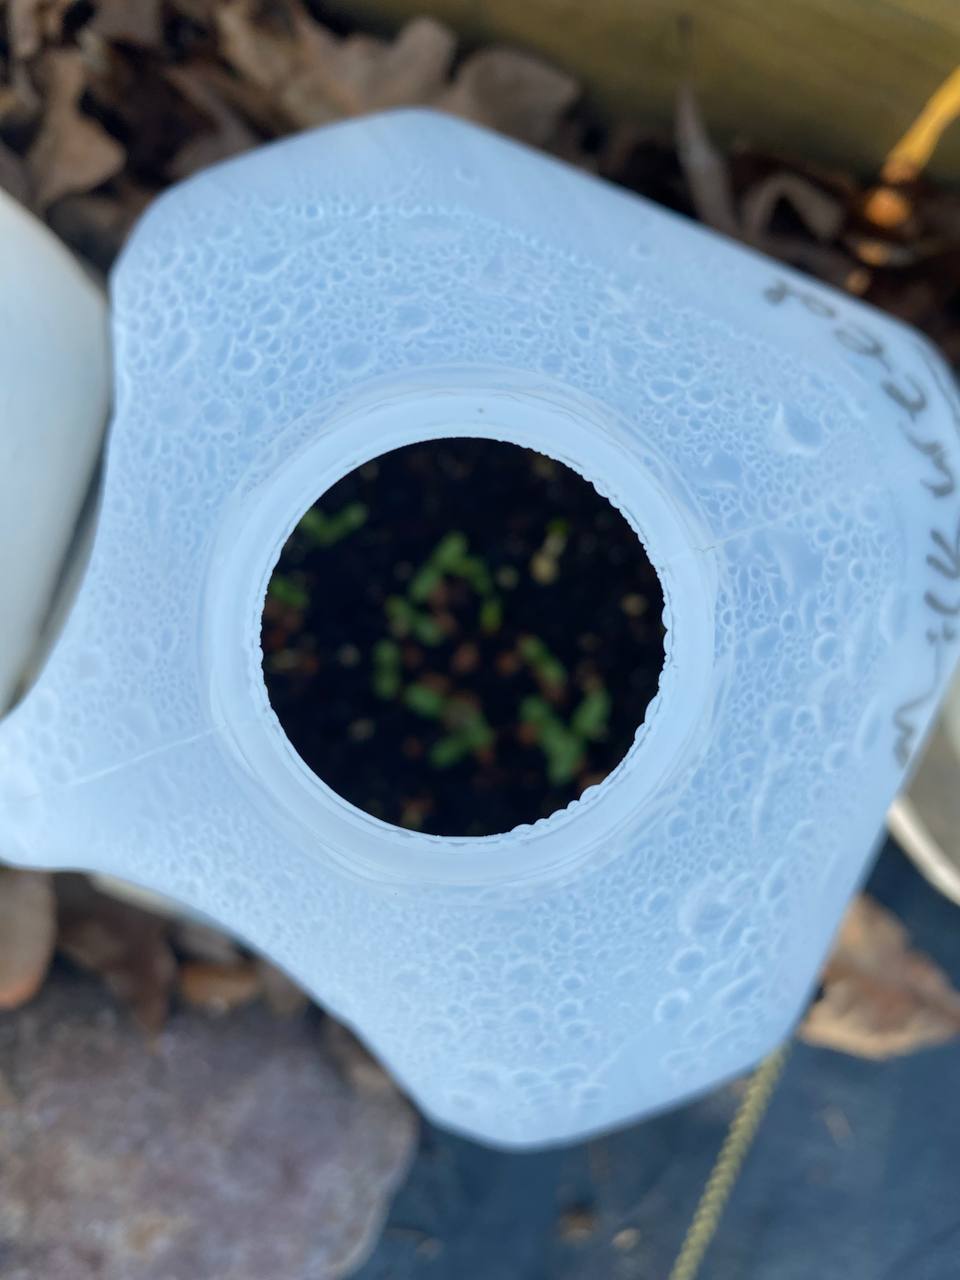
• You’ll start to see seedlings emerge in early spring, depending on the weather.
Step 9: Care for Your Seedlings
• Once seedlings appear, crack open the jugs on warm days to prevent overheating and provide airflow.
• When seedlings grow their first true leaves, you can begin hardening them off by gradually exposing them to outdoor conditions.
Step 10: Harden Off Your Seedlings
How to Harden Off Winter Jug Seedlings 🌱
Winter jug sowing is a fantastic low-maintenance way to start seeds outdoors during the cold months. However, when your seedlings begin to emerge in spring, it’s important to harden them off properly before transplanting them into your garden. This process gradually acclimates your young plants to outdoor conditions, reducing the risk of transplant shock.
Here’s a step-by-step guide to hardening off your winter jug seedlings:
Step 1: Wait Until the Right Time
Don’t rush to open your jugs at the first sign of seedlings.
• Cool-weather plants (like lettuce, spinach, and snapdragons) can handle cooler spring temps and can be hardened off earlier.
• Warm-weather plants (like tomatoes and zinnias) should be hardened off once frost risk has passed and nighttime temperatures stay above 50°F.
Step 2: Start by Cracking Open the Lids
When seedlings start growing inside the jugs, crack the tops open or remove the tape to increase airflow and prevent overheating.
• Do this on warm, sunny days when temperatures are above 45°F.
• At night, close the lids again to protect seedlings from cold temperatures.
Step 3: Gradually Expose to Direct Sunlight
Seedlings need time to adjust to direct sunlight and outdoor air.
• Day 1-2: Place the opened jugs in partial shade for a few hours.
• Day 3-4: Increase exposure to dappled sunlight for 4-6 hours.
• Day 5-7: Gradually move the jugs to full sun for most of the day.
If temps drop below freezing during this period, close the lids or cover the jugs overnight to protect seedlings.
Step 4: Fully Open the Jugs
After a week of partial hardening off, your seedlings should be ready for more exposure.
• Remove the lids entirely during the day and leave them off for several hours.
• At night, cover the seedlings or move the jugs to a protected spot if frost is expected.
Step 5: Transplant Your Seedlings
Once your seedlings are strong and have fully adjusted to outdoor conditions, they’re ready to be transplanted into the garden.
• Water the seedlings well before transplanting to reduce stress.
• Choose a cool, cloudy day or transplant in the early morning or late afternoon to avoid heat stress.
Tips for Hardening Off Seedlings:
• Watch for signs of stress: Wilting, sunburn, or pale leaves mean the seedlings need more time to adjust.
• Don’t rush the process: Hardening off typically takes about 7-10 days.
• Protect from pests: Use row covers or netting if pests like birds or insects become an issue.
By taking the time to harden off your winter jug seedlings, you’ll set them up for success in your garden, ensuring they thrive and produce beautiful blooms or bountiful harvests!
Time to Transplant to Your Garden!
• When the last frost has passed and your soil has warmed, your seedlings are ready to transplant!
• Water well before transplanting, and plant them in your garden or containers.
Pro Tips for Winter Jug Sowing:
1. Start with cold-hardy plants like perennials, herbs, and cool-season veggies.
2. Avoid tender plants like tomatoes and peppers until closer to spring.
3. Save your jugs year-round for next season’s winter sowing!
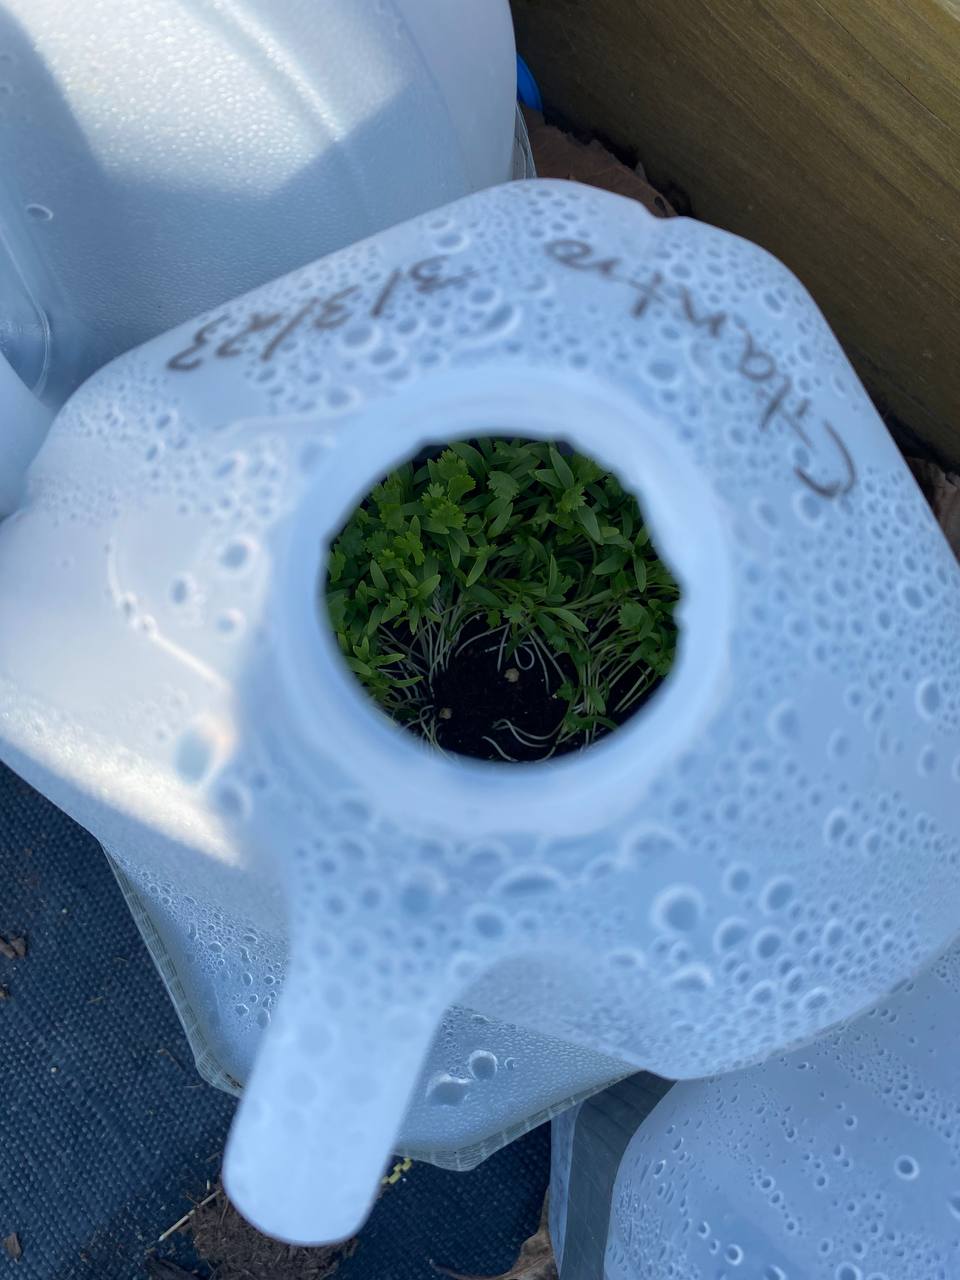
Jugs out on March 12th 2023 when it was starting to sleet.
Happy Sowing!

